Laptop chargers are essential tools that keep our devices running for work, school, and entertainment. A faulty charger can interrupt your daily routine, causing delays and frustration. Often, the problem is not the laptop itself but the charger, cable, or even the power source. Knowing how to test your charger safely and effectively can save time, money, and stress. In this article, we provide practical guidance to help you determine if your laptop charger is working properly and what steps to take if it isn’t.
Step 1: Perform a Basic Physical Inspection
Check for Visible Damage on the Charger and Cable
Start by carefully inspecting your laptop charger and cable for visible signs of wear or damage. Look for frayed wires, cracks in the plug or brick, and any discoloration that might suggest overheating. Even minor damage can cause intermittent charging or complete failure. A simple visual check can prevent larger issues and maintain safe charging practices. This basic step ensures that you are aware of the condition of your charger before proceeding to more technical tests.
Examine the Laptop’s Power Port for Debris or Damage
The laptop’s power port should also be examined for dirt, lint, or bent connectors. Debris in the port can prevent a secure connection and disrupt power delivery. Using a flashlight and a soft brush or compressed air helps clean out the port safely. Any visible damage or bent pins may indicate a need for professional repair. Keeping both the charger and port in good condition is key to reliable and consistent charging.
Step 2: Isolate the Problem – The Swap Test
Rule Out the Wall Outlet and Power Source
Before assuming the charger is faulty, check that the wall outlet or power strip is supplying electricity. Plug in another device to ensure that power is flowing properly. Sometimes the outlet itself may have intermittent issues, especially in older buildings. This step helps avoid unnecessary troubleshooting or replacement of a perfectly functional charger. Ensuring the power source is stable is a simple yet crucial step in diagnosing charging problems.
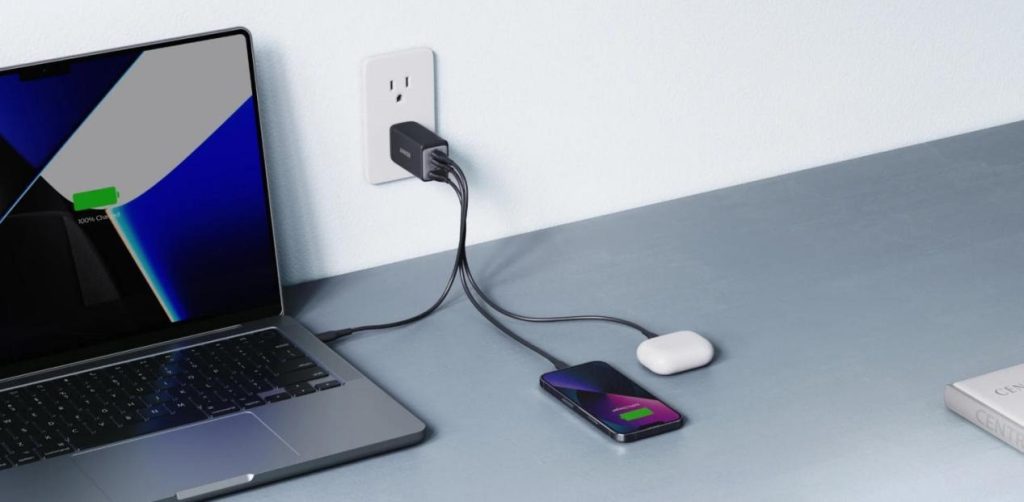
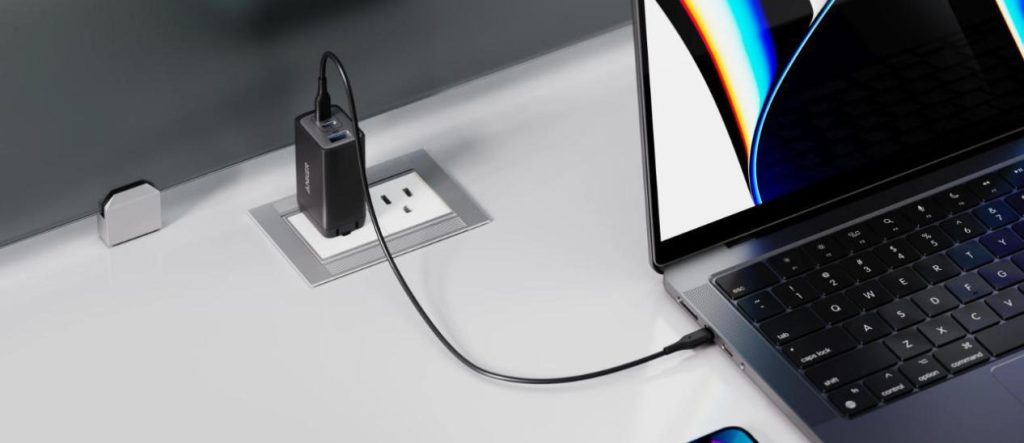
Test with a Known-Good Charger or a Universal Tester
If the outlet is functioning properly, test your laptop with a known‑good charger to see if the issue persists. If the laptop charges normally with another charger, the original charger is likely at fault. This approach isolates the problem quickly and requires no technical expertise. For a reliable replacement, consider a trusted option such as an Anker laptop charger—recognized for its safety features, consistent performance, and reasonable pricing—to restore steady charging and daily peace of mind. This step clearly determines whether the issue lies with the charger or the laptop itself.
Step 3: Advanced Diagnostics & Software Checks
Use a Multimeter to Measure Voltage (For the Confident User)
For users comfortable with electronics, a multimeter can measure the charger’s voltage output. Compare the measured voltage to the specifications on the charger to ensure it is delivering the correct power. This is a more precise method that can distinguish between a weak charger and other device issues. Careful voltage measurement helps prevent potential damage to your laptop. Accurate testing ensures both safety and effective troubleshooting.
Check for Software or Battery Driver Issues on Your Laptop
Sometimes, the issue may not be with the hardware but with software or battery drivers. Make sure your operating system and battery drivers are up to date. Occasionally, a simple restart or driver reset resolves recognition problems with the charger. Checking these settings is non-invasive and often effective. Combining software diagnostics with hardware inspection ensures a thorough evaluation of charging problems.
Common Failure Signs and What They Mean
Intermittent Charging or No Charging at All
Intermittent charging or a total lack of charging is a clear sign that something is wrong with either the charger, cable, or port. You might notice the charging icon flickering or disappearing entirely. This can be caused by worn wires, loose connectors, or damaged internal components. Identifying the root cause quickly prevents further damage to your laptop’s battery. Prompt attention keeps your device reliable and safe to use.
The Charger Gets Extremely Hot or Smells of Ozone
If your charger becomes excessively hot or emits a strange smell, stop using it immediately. These are signs of internal short circuits, overheating, or overworked components, all of which can pose safety hazards. Continuing to use a malfunctioning charger risks damage to the laptop or even personal injury. Recognizing these warning signs early allows you to take appropriate action. Addressing such issues promptly ensures both safety and device longevity.
Conclusion
Testing your laptop charger carefully helps determine whether repair, replacement, or professional service is necessary. If simple inspections and tests point to a faulty charger, replacing it with a reliable option ensures safe and consistent charging. For example, an Anker laptop charger is an excellent choice because it is both safe and reasonably priced, providing peace of mind for daily use. When physical damage, extreme heat, or persistent failures are present, consulting a professional is the safest route. By following these steps, you can maintain productivity, protect your laptop, and avoid unnecessary downtime while ensuring your charging setup is both effective and secure.